Mastering Canva: 7 Tips for Creating Print-Ready PDFs
Posted in Perfect print design on 08 May 2024
Canva offers loads of features for designing everything from social media graphics to business cards. However, when it comes to preparing documents for print, there are some key considerations to bear in mind. In this blog post, we’ll give you some tips on how to prepare PDFs for printing with us at Doxdirect.
o
1. Start with the Right Template
Before you start, choose the right size for your print project. Canva offers a variety of preset dimensions for common print materials such as flyers, posters, brochures, and business cards. This will save you from having to resize later on, which would be a bit of a pain!
2. Set Up Your Document Correctly
Once you’ve chosen your template, you might need to adjust the document settings to match your printing needs, we print everything from business card size (85 x 55) to A0 (841 x 1189). In Canva, you can customise the dimensions, orientation (portrait or landscape), and units (inches or millimetres). Check the bleed and margin settings – if you want the colour to go right off the page, you need to make sure that your design extends beyond the trim area to prevent any white borders or cropping issues during printing. Make sure that any text or important information isn’t too close to the edge of the page – we recommend at least 3mm, ideally more.
3. Use High-Resolution Images
To maintain crisp and clear print quality, it’s really important to use high-resolution images. The best printing press in the world can’t add sharpness to an image if it’s not there to start with! Choose images with a resolution of at least 300 DPI (dots per inch) to ensure sharpness and detail. Canva provides access to lots of stock photos, illustrations, and icons, but you can also upload your own high-quality images too.
4. Fonts and Text
Be mindful of font size, make sure that text is large enough to be easily read when printed. For extra peace of mind, convert text to outlines or embed fonts to prevent any font substitution issues when the PDF is opened on a different computer.
5. Check Colour Mode and CMYK
We print in CMYK rather than RGB. You can switch between colour modes in the ‘design’ settings, so be sure to change your document to CMYK before exporting as a PDF.
6. Proofread and Preview
Before exporting your design to PDF, take the time to proofread all text and double-check for any errors or typos. Once you’re happy, preview it in Canva to make sure that everything appears as you’d like it. Pay close attention to the layout, alignment, and overall presentation to catch any potential issues before print.
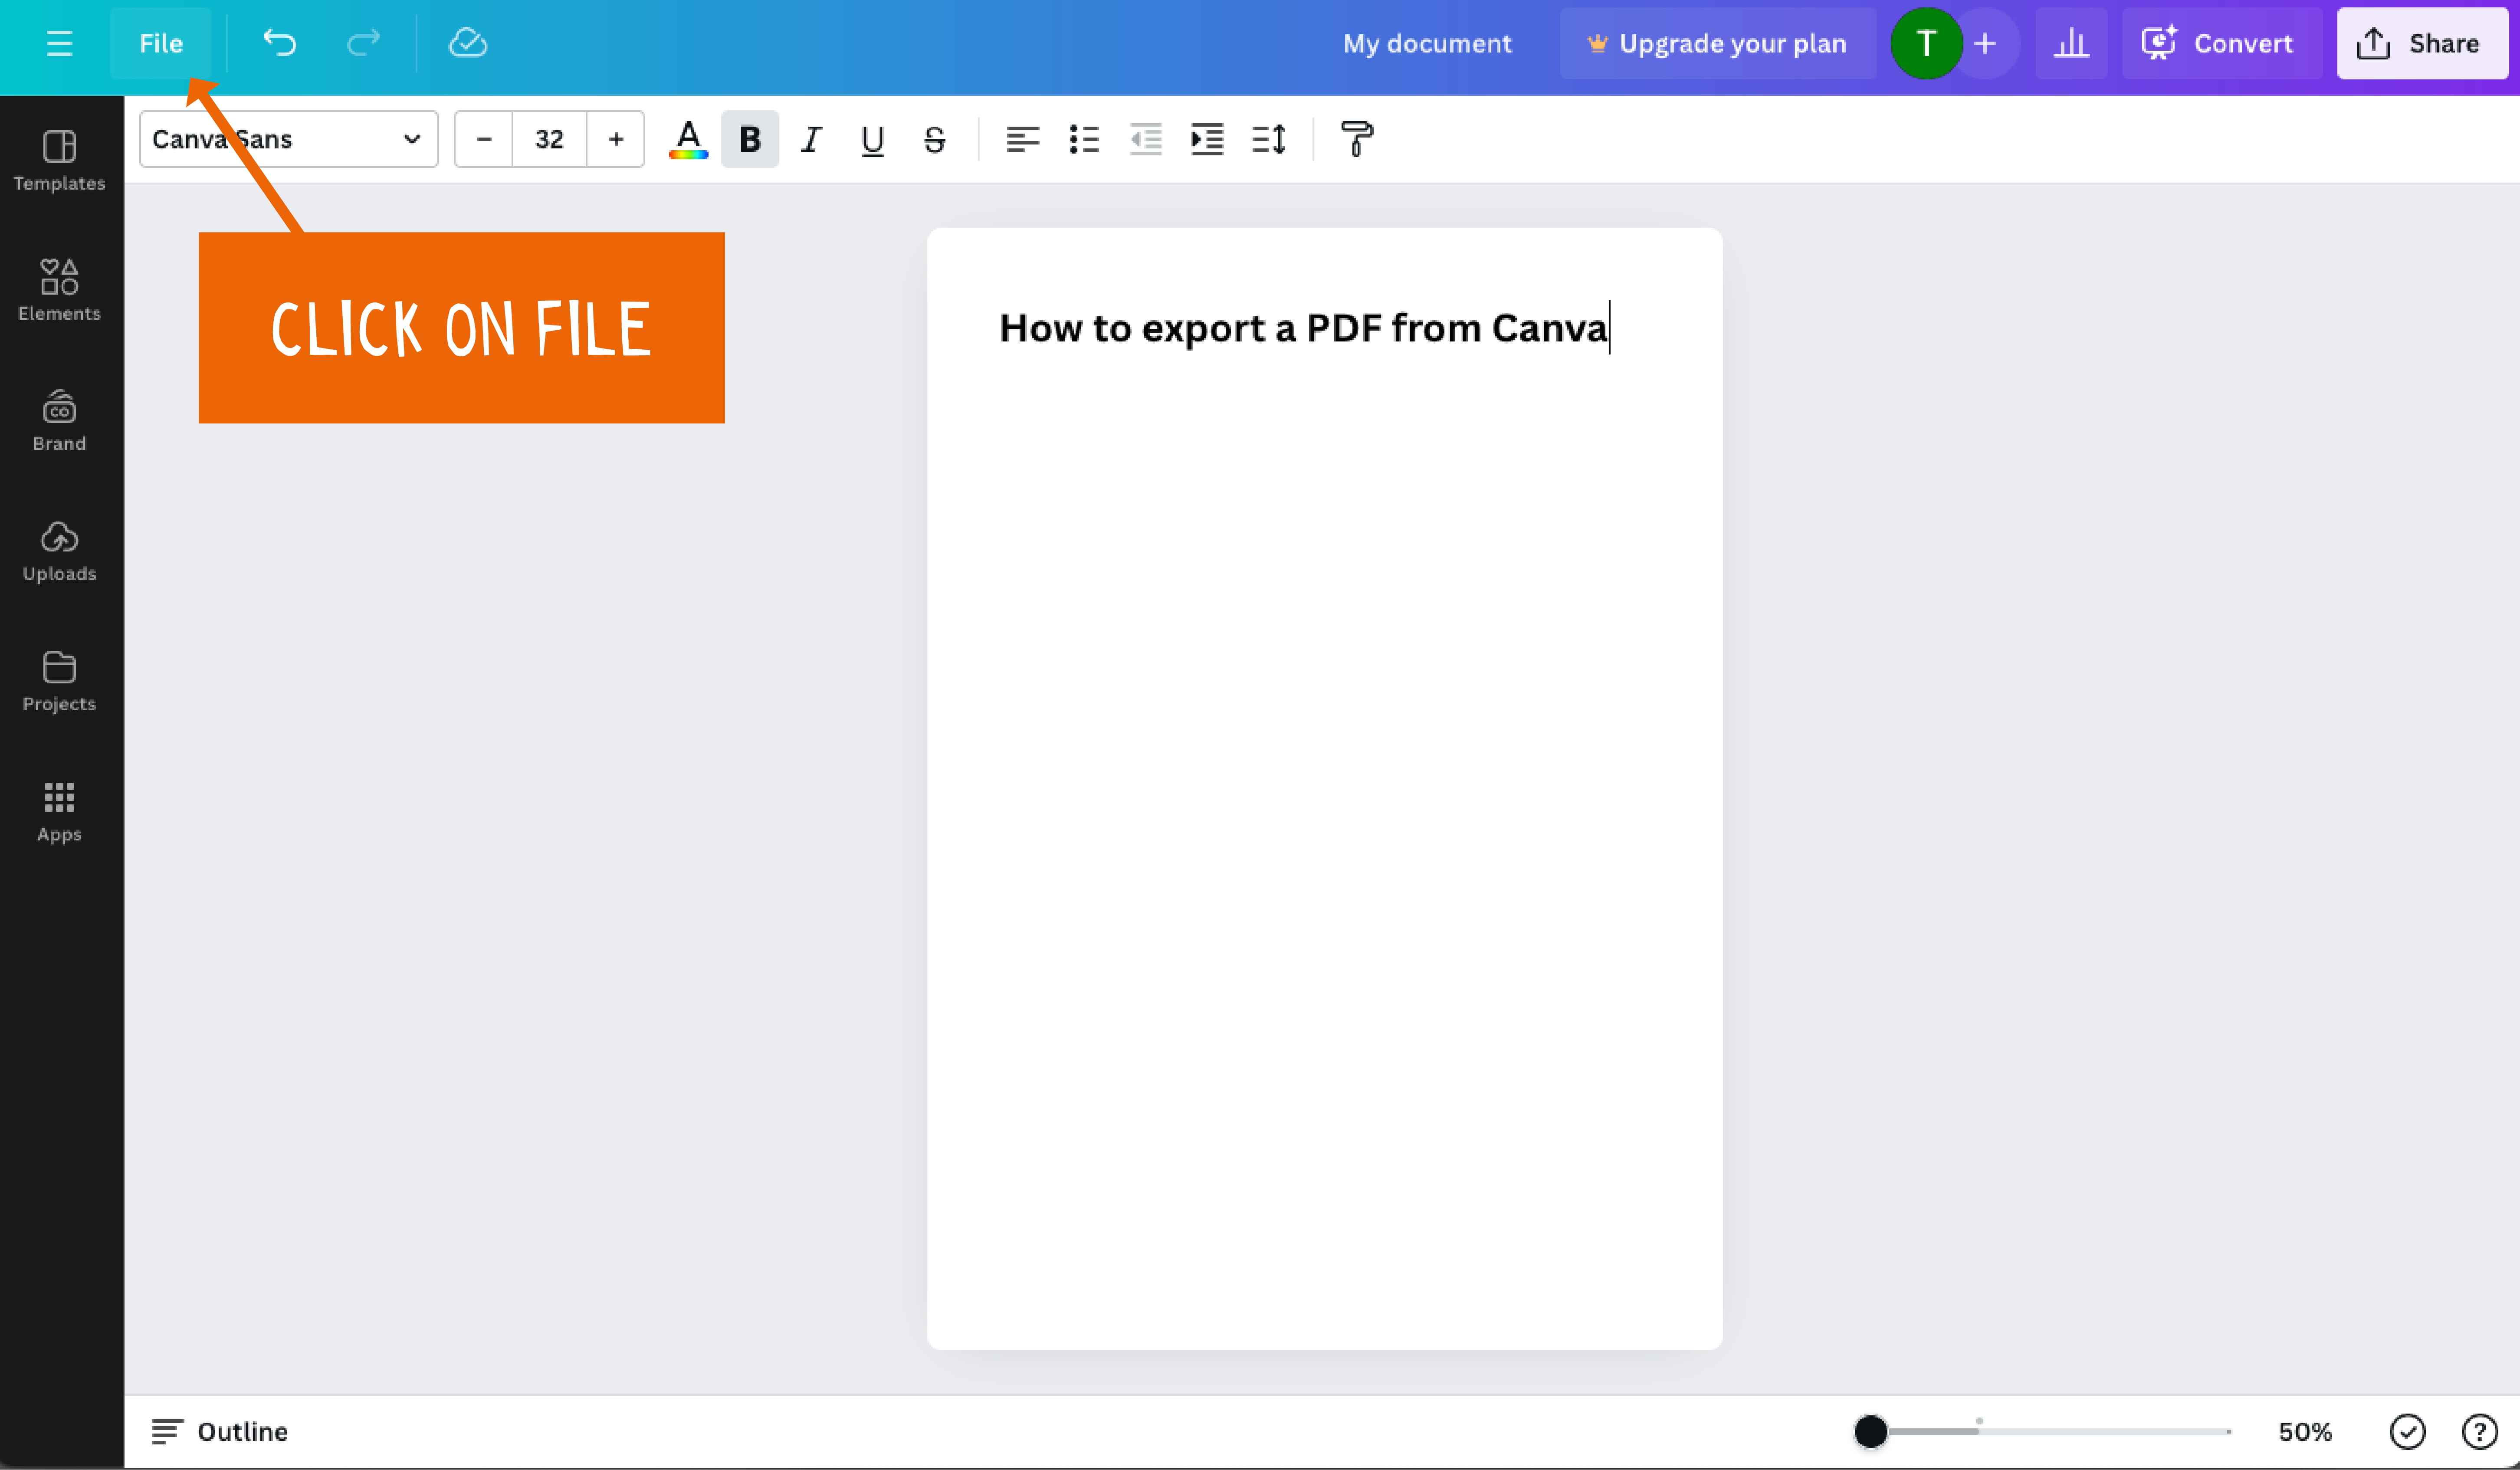
7. Export as a Print-Ready PDF
When you’re happy with your design and are ready for us to print, it’s time to export it as a high-quality PDF file. In Canva, simply click on the “Download” button and select the PDF print option. If you have the paid version of Canva, check that the “Trim Marks” and “Bleed” options are switched on. This will help ensure accurate trimming and prevent any white borders.
Canva Screenshots for exporting as a PDF


With these simple steps, you can confidently create print-ready PDFs using Canva, then you can upload here, and wait for your beautiful documents to arrive.