No, this isn’t just a catchy tongue-twister title, we want to make sure that your printing turns out perfectly! So we’ve put together a handy guide to help you create the ideal file for printing, that way you’ll get the result you want and we’ll get a gold star ⭐️ !
1. Image resolution
First things first, let’s talk about resolution. For crisp and clear prints, it’s crucial to have a high-resolution file. Aim for your images to have a resolution of 300 dots per inch (dpi) to guarantee sharp details and vibrant colors. Remember, using the appropriate resolution yields the best print quality. Take a look at the fox image below (our Dox Fox, if you will…!). If your image is only about 72dpi, this is what it will look like when it is printed.
Images should be placed at 100% in your final document. For example, if your image is 120mm x 120mm at 300dpi, then it is also that actual size when placed in your document. Please be aware that opening a 72 dpi image in Photoshop and changing the dpi to 300 will not increase the quality of the image.
We’ve written a blog about the best resolution to use for posters, you can read all about that here.
2. File formats
Next up, let’s tackle file formats. We recommend uploading PDFs. These ensure compatibility across different devices and platforms. Plus, they retain the quality of your artwork, photos, or designs. Whether you’re using word, powerpoint, inDesign, Canva or or any other software, be sure to export your PDF at a high resolution.
If you are having trouble with this, here is a link to a free user-friendly website that can convert a variety of image files into usable PDFs.
Adobe Indesign
If you are using Indesign, we have set up a PDF print setting that you can use to help you create the perfect print file. Here is how to do it:
In Indesign go to File > Adobe PDF Presets > Define
In the next window click on load, then load the preset file that you have downloaded.
Choose this presetting when you create your PDF.
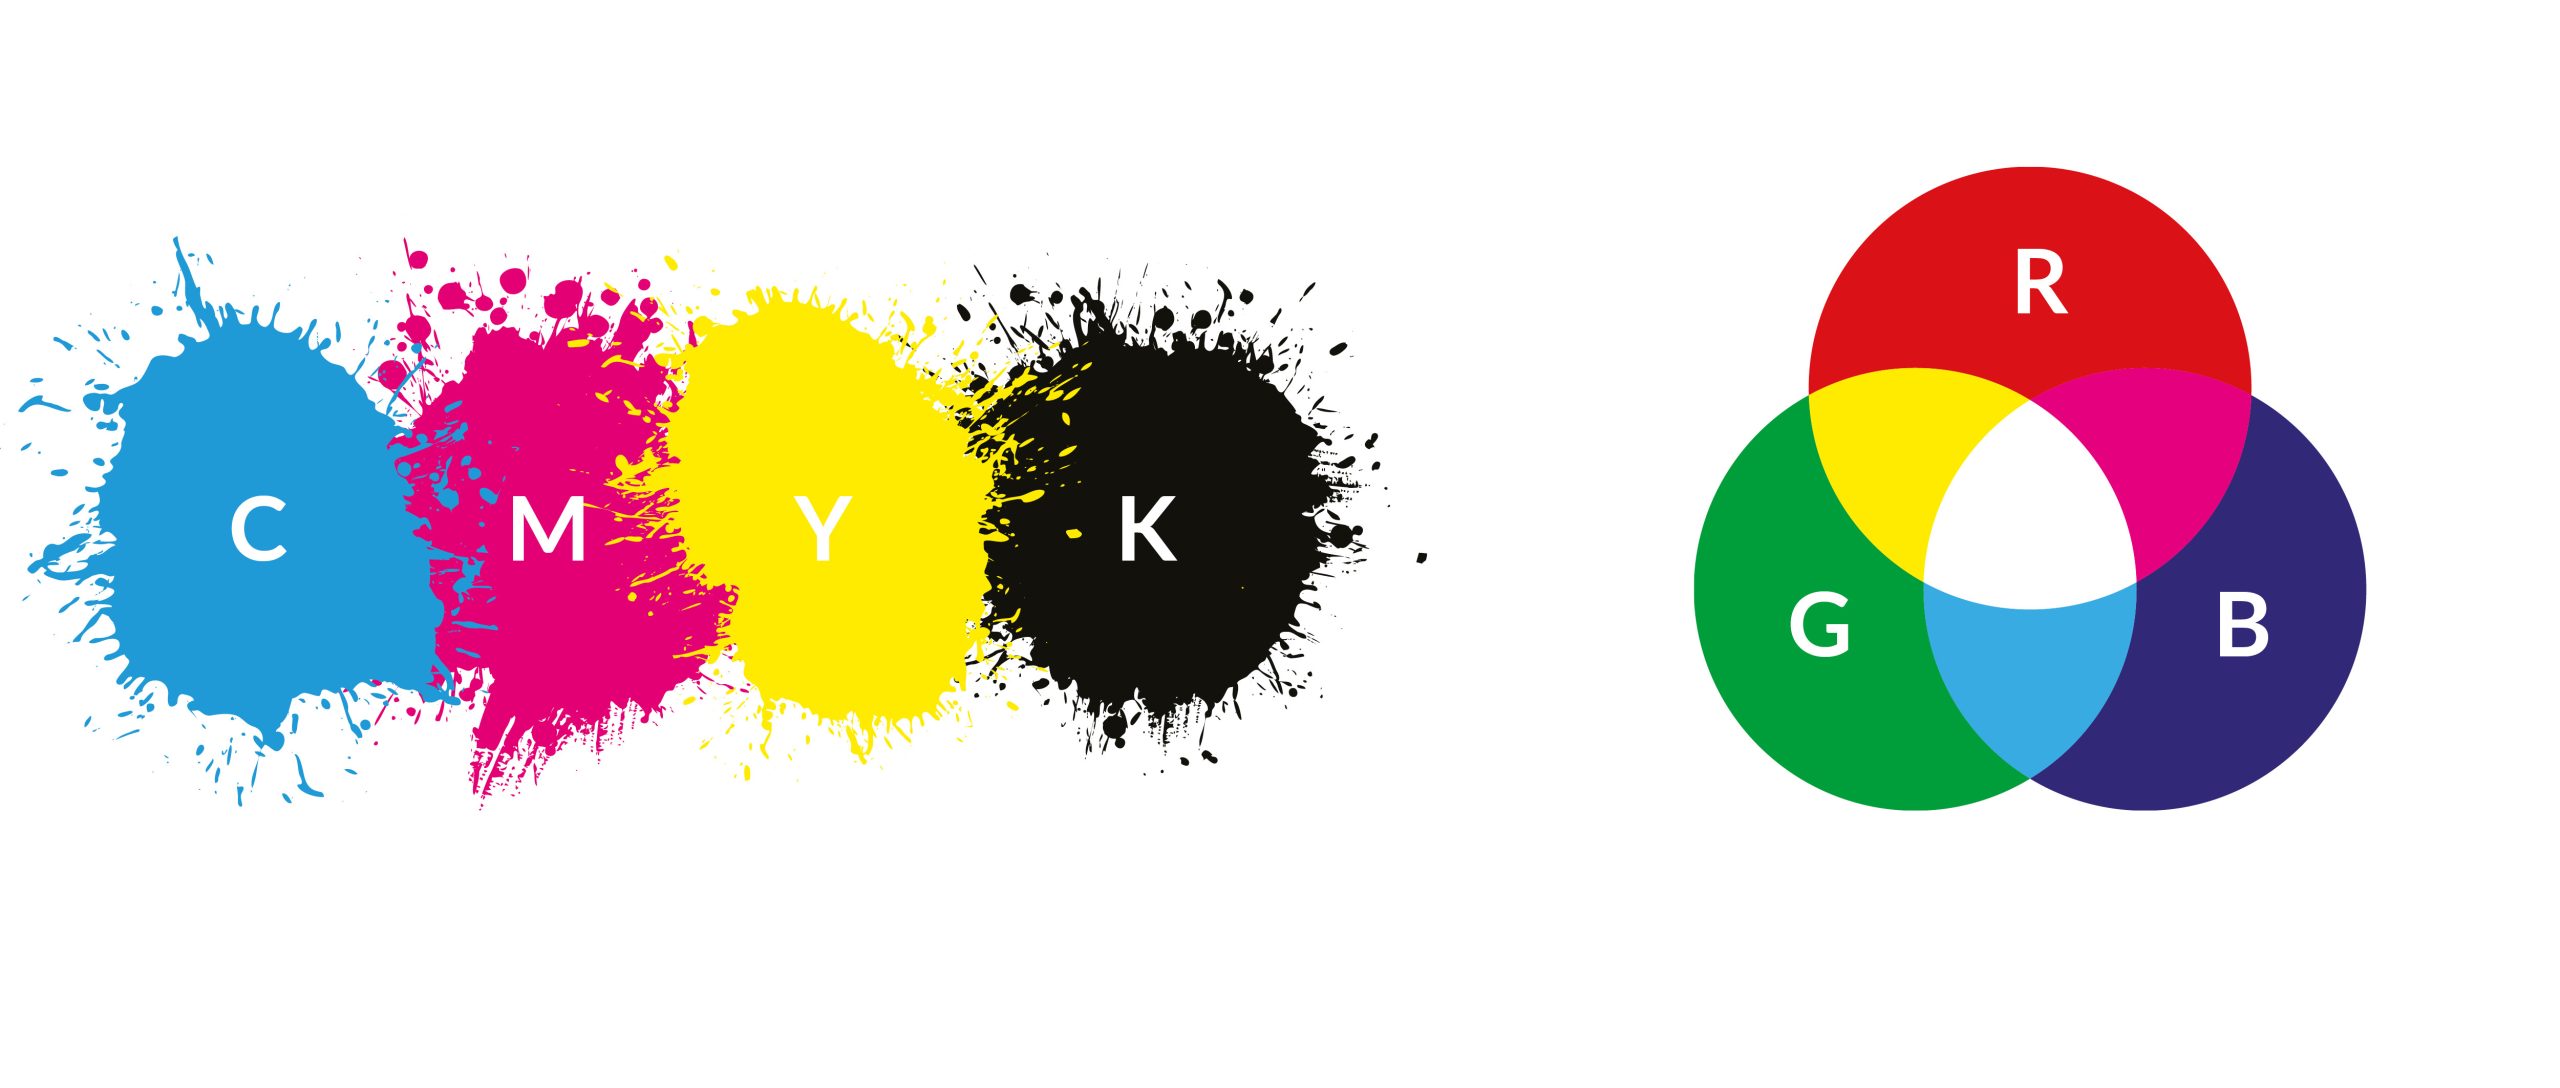
3. Colour
If possible, please try to convert your images to CMYK. If you provide images that are in RGB, we will handle the conversion process to CMYK, but it’s important to note that the printed version of your file may appear different in terms of colour. If you would like to have a go and providing CMYK files you could try using an online conversion service like cmyktorgb.
What is the difference between CMYK and RGB anyway?
CMYK represents Cyan, Magenta, Yellow, and Black, which are the inks combined to produce printed materials.
On the other hand, RGB stands for Red, Green, and Blue, representing the primary colors of light that a computer screen mixes to display colors. In simpler terms, RGB is used for viewing colors on computer screens, such as this website.
4. Crop marks and bleed
Setting up a bleed area of about (3mm) around your artwork ensures that no important details get cut off during printing. It’s like a safety net for your design. The good news is that even if your document does not have bleed and crop marks, our system will add that for you. The only exceptions are if you choose 80gsm paper or add tabs to your document it printed with with white borders instead.
5. Margins
It is always best to leave a good margin for anything important on the page, like a logo, text or a vital part of the image. This ensures that it won’t end up being uncomfortably close to the edge, or even cut off. As a guide, 5mm would be a good minimum margin. Many people have a much larger margin – perhaps 10mm or more on an A4 page. For book printing we recommend that you use a margin of 12mm for the bound edge of each page, to make sure that the text is clear of the spine.
6. Fonts
If you provide us with a Print Ready PDF, JPEG, or PNG file, the fonts will be embedded or converted to outlines. However, if files are supplied in other formats, we may ask you for them.
7. Last checks!
Finally, double-check everything before hitting that upload button. Take a moment to review your file, zoom in to inspect details, and proofread any text. It’s always better to catch any potential issues early on and make necessary adjustments. That way, you can be confident that the end result will be exactly what you envisioned!
These tips also appear in the help section along with a load of other helpful information, so it’s the first port of call if you have any questions about the whole process!

 4. Crop marks and bleed